
Google’s Pixel 10 launched in August 2025 with a Tensor G5 processor, a 6.3-inch Actua display that runs at up to 120Hz, and a commitment to seven years of OS and security updates. The phone is usable within minutes of unboxing. The features that matter on a bad day sit deeper in Settings, in submenus that first-time Pixel owners tend to leave at their defaults.
Six first-day items are worth working through before the phone fills up with apps and accounts: a clean software update, a clean data transfer, Emergency SOS, Call Screen and Scam Detection, the Accessibility Menu, and a first widget placement. Each step is shorter to perform than to read about.
First, Run the Software Update
Open Settings → System → Software updates on a new Pixel before installing any third-party apps or signing into personal accounts. Google lists seven years of OS, security, and Pixel Drop updates for the Pixel 10, which shipped with Android 16; the phone on day one is rarely on its final patch.
That first update is the most important one to install on Wi-Fi rather than mobile data. The downloads are usually larger than the monthly patches that come later. Auto-update lives in the same screen and should be left on so the next patch lands without prompting. The Pixel 10 also ships with a Titan M2 security coprocessor, which keeps the loop between Android and Google’s update servers honest. After the install, the same Settings → System path is worth bookmarking for monthly check-ins.
Pixel 10 update commitment, at a glance
- 7 years of OS, security, and Pixel Drop updates
- Android 16 at launch
- Titan M2 security coprocessor on-device
The full Pixel 10 specs and update commitment are published on Google’s hardware site.
Transfer Your Old Phone’s Data
Switching phones is the step most new Pixel owners have done before, and the step that absorbs the most attention on day one. Both paths, iPhone to Pixel and Android to Pixel, share a backbone: a charged device on each end, a working cable or close wireless pairing, and the same strong Wi-Fi network. The setup wizard leads the rest, and the path that follows is largely determined by what was on the old phone.
Moving from an iPhone to a fresh Pixel: place the Pixel next to the iPhone, or connect them with a USB cable. Sign into the Google account on the Pixel and accept the prompt to transfer. The on-screen menu lists what to keep, and contacts, photos, messages, and accounts move together in most cases. Wireless transfers work on supported devices without the cable. Back up the iPhone in iCloud before starting, because an interrupted transfer is often recoverable only in pieces, not always in whole.
Coming from an older Android, the path is shorter. The setup flow asks for the basics in a defined order:
- Plug both phones in for the duration of the transfer.
- Connect both devices to the same strong Wi-Fi network.
- Sign into the existing Google account on the new Pixel.
- Pick the data categories to move: apps, photos, contacts, messages.
- Keep the old phone awake until the transfer screen reports complete.
A backup in iCloud or Google One is the cleanest safety net if the transfer stalls partway. Most owners finish in well under an hour, with the limit being the photo library size, not the phone.
Set Up Emergency SOS Before You Need It
The Personal Safety app on a Pixel holds four safety features: Emergency SOS, Emergency Sharing, Safety Check, and Crisis alerts. Emergency SOS alone can dial 911, share the device location with chosen contacts, and start an emergency recording, all triggered by five presses of the power button. The setup lives two taps into Settings and is rarely visited by anyone who has not had to use it.
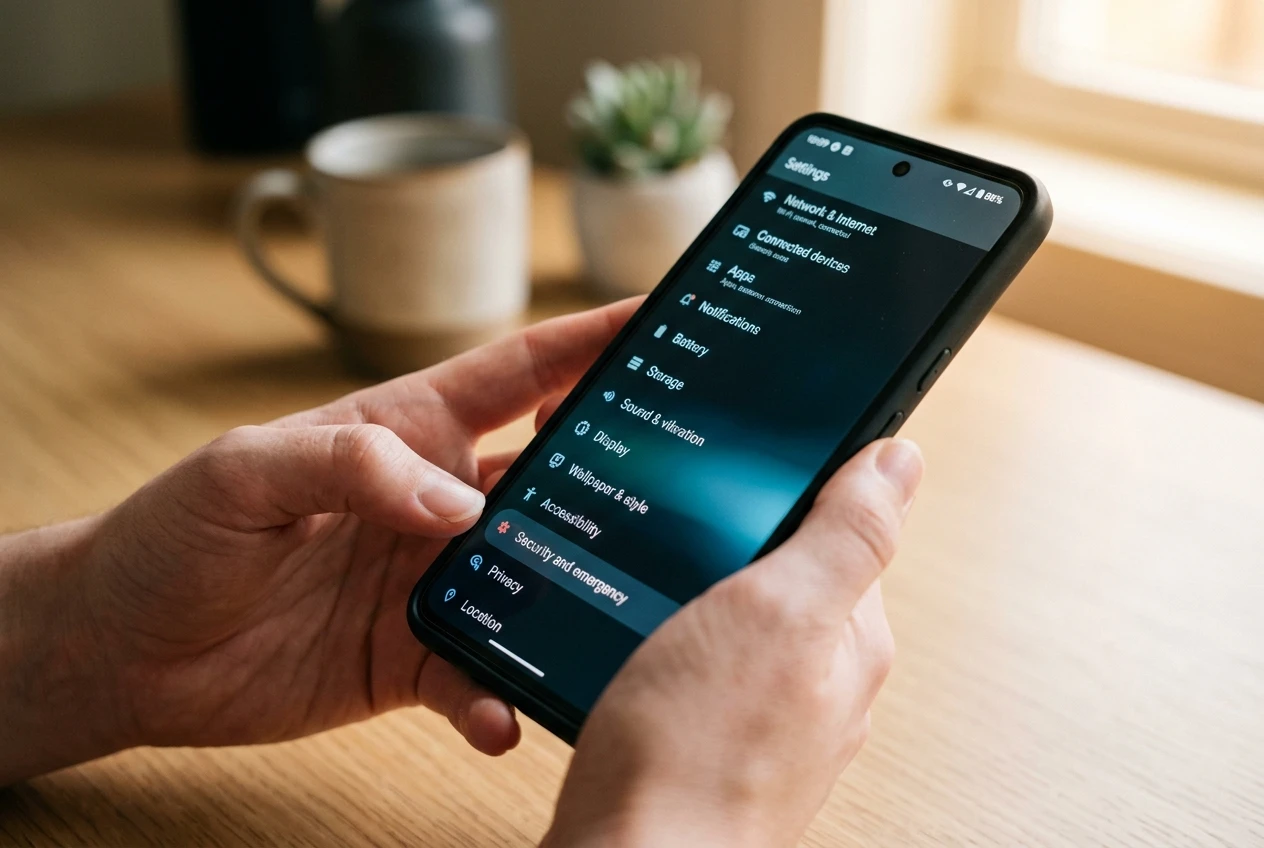
Turn it on by opening Settings, choosing Safety & emergency, then Emergency SOS, and tapping Start setup at the bottom of the screen. The walk-through asks for the local emergency number, offers an assisted-calling toggle that shares location automatically, prompts for a list of contacts to notify, and ends with the choice between a touch-and-hold confirmation and an immediate countdown. Pick the version that matches how the phone is normally carried. Both options can be revisited later under Settings, which also covers emergency video recording and lock-screen medical info.
Two of those trigger options matter most. Touch & hold to start actions inserts a confirmation step before any call goes out and prevents the most common failure mode, a stiff pocket dialing 911 by accident. Start actions immediately after a 5-second countdown trades that confirmation for speed and can play an alarm so bystanders know something is happening. Either way, the trigger stays the same: press the power button five times. The Pixel 10’s spec sheet also lists Satellite SOS in the Safety section, for the cases where both Wi-Fi and cellular are unavailable.
Personal Safety also houses Car Crash Detection. On Pixel 4a and later, including Fold, the Pixel 10 can call 911 in a severe crash using location, motion sensors, and nearby sounds, and it will share the device’s approximate location with emergency services. The setup prompts once for microphone and location permissions, and granting each is a single tap. The combined Pixel Emergency SOS setup walk-through lays out the configuration in full, including the airplane-mode and Battery Saver constraints that turn the feature off silently.
Turn On Call Screen and Scam Detection
Two tools handle most of the spam calls a new Pixel will receive. Both Call Screen and Scam Detection ship off by default on a fresh device.
To turn on Call Screen, open the Phone app, tap More (the three vertical dots), then Settings, then Spam and Call Screen or Call Screen, depending on the build. Pixel 7 and above expose a Protection level toggle with sliders for spam, possibly faked numbers, and first-time callers, and either slider can be flipped independently. Pixel 6 and below keep the older Unknown call settings path, with a separate choice per caller type. Manual screen-calling, where the user reads a transcript before deciding to pick up, is available in the US, Canada, France, Germany, Ireland, Italy, Japan, Spain, and the United Kingdom; automatic screening is currently limited to the US.
Scam Detection sits a tap deeper at Phone → More → Settings → Scam Detection. The feature works on Pixel 6 and later devices in the US, and on Pixel 9 and later devices in Australia, Canada, France, Germany, India, Ireland, Italy, Japan, Mexico, Spain, and the United Kingdom, with the Pixel 9a supported in the US only. From Pixel 9 onward, the feature runs on the Gemini Nano model on-device; earlier Pixel devices fall back to Google’s on-device machine learning models. Scam Detection is opt-in, and an audible beep plays at the start of the call and every few minutes after so both sides know the feature is active. The country-by-country eligibility list is the relevant page on Google’s Scam Detection setup steps for Pixel phones.
Data processing for Scam Detection is all done on-device. No conversation audio or transcription is stored on the device, sent to Google servers or anywhere else.
The line is from Google’s Phone app Help, and it is the privacy case for leaving Scam Detection on through quiet weeks when scam calls are unlikely. The feature can also be turned off for a single call from the in-call screen without disabling it system-wide.
Enable the Accessibility Menu
Accessibility settings are easy to leave at their defaults, even when the user knows they will eventually need them. The Accessibility Menu is the catch-all for owners who want one floating button that controls the device without remembering gesture combinations. It is also the fastest way to hand a Pixel to a parent or grandparent without spending the next hour teaching them where the buttons moved. The toggle lives at Settings → Accessibility → Accessibility Menu.
Once enabled, the Accessibility icon floats over every screen. A two-finger swipe up from the bottom of the display summons the menu, or three fingers when TalkBack is on, and tapping the floating icon opens the same set of controls directly. The button shape and size are controlled from the same menu, and a Large buttons toggle makes the controls easier to read for users with low vision.
The Accessibility Menu does not change the phone’s font size, which catches most first-time users. To make text larger, open Settings, search for Font size, and move the slider; for an even larger interface, search for Display size and bump that one too. Display size governs the layout of buttons and menus, while Font size governs the type itself. Both are reversible at any time and apply across most of the operating system.
Get Started With Widgets
Widgets are how the Home screen earns its real estate. A single widget can replace three app icons and keep a glanceable piece of information (calendar, weather, music, smart-home controls) on the front page. The setup is the same on every Android phone, and there is no quicker way to make a Home screen personal.
To place one: touch and hold an empty space on the Home screen and tap Widgets at the bottom of the screen. The list is alphabetical and shows which apps ship widgets; tapping an app opens its full set, touching a chosen widget pins a layout to the screen, and dragging it into place commits the position. Letting the widget sit for a beat exposes the resize handles, which are little dots along the edge, and dragging those dots fits the widget to the space. Google’s full Android Home screen widget setup guide covers the placement and resize path in more detail.
Most first-time Pixel owners place the Google widget, a weather widget, and a smart-home or audio widget on the first day. Third-party apps from the Play Store ship widgets too, and the same Widgets picker lists them; a quick test is enough to know whether a widget earns its slot. There is no single widget that ships with every Pixel, which is why the picker is short on day one and longer after a few app installs. The widgets already on a fresh Pixel come from Google, and the rest wait for the apps that use them.
